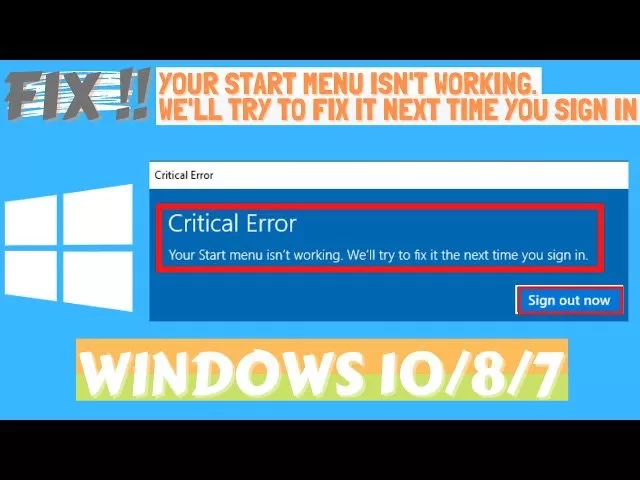
Have you ever faced with an error saying “Critical Error. Your start menu isn’t working. We will try to fix it next time you sign in” in windows 10
You are at right place to fix this error. Here at theLotusGeek we will going to fix this critical error by 4 different ways to provide you 100% guaranteed resolution for your problem.
Below is the video tutorial to fix start menu isn’t working in windows 10. Have a look at :
#Method 1 – Fix Start menu isn’t Working By updating your Windows
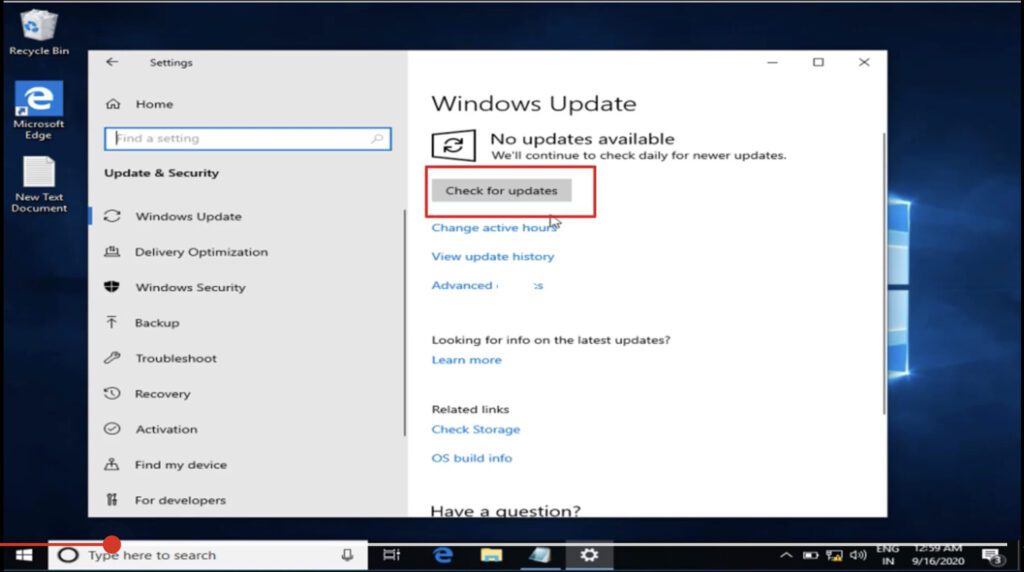
First and the basic step to resolve this critical error is by updating your windows because there may be a bug inside who is causing this error and that’s why Microsoft keeps on releasing new updates time to time. In order to update your windows, open your settings menu and choose Update and Security from the options.

In Update and Security, from the right lane click on check for updates to update your windows.
 If updates are available, make sure to download and update your windows. Once the update is complete restart your system and check if problem is still persists or not.
Also Read: User Profile Service Failed the Sign-in. User Profile Cannot be Loaded – LotusGeek
#Method 2 -Fix Start menu isn’t working By Re-Registering Start Menu
If your start menu is corrupted than you may face such issue but we can re-register your start menu.
In order to Re-register your start menu simultaneously press Windows key + X key, to open the menu bar and choose Windows Powershell as Admin to open the Powershell in your system
 Once the Powershell is opened, Copy the command below and paste in the Powershell and hit the enter button to execute the command.
Get-AppxPackage Microsoft.Windows.ShellExperienceHost | Foreach {Add-AppxPackage -DisableDevelopmentMode -Register “$($_.InstallLocation)\AppXManifest.xml”}
 Once your hit the enter key, command will be executed. It will take time to process and than your start menu is re-registered successfully. After that close the Powershell and restart your system. That’s all you have to do in order to re-resister your start menu. Now you can check if problem is still persists or not.
#Method 3 – Fix Start menu isn’t working By deleting tile data layer directory
In order to delete tile data layer, you need to first access command prompt, so again simultaneously press Windows key and X key to open the menu options. Click on task manager to open
 Once task manager is opened, you need to click on file menu and than click on Run new task option
 A dialog box will open, type here cmd and tick mark the box “create this task with administrative privilege”
 Once command prompt is open, type here the following command and hit enter button to enable the hidden administrator account of your PC
Net user administrator /active:Yes
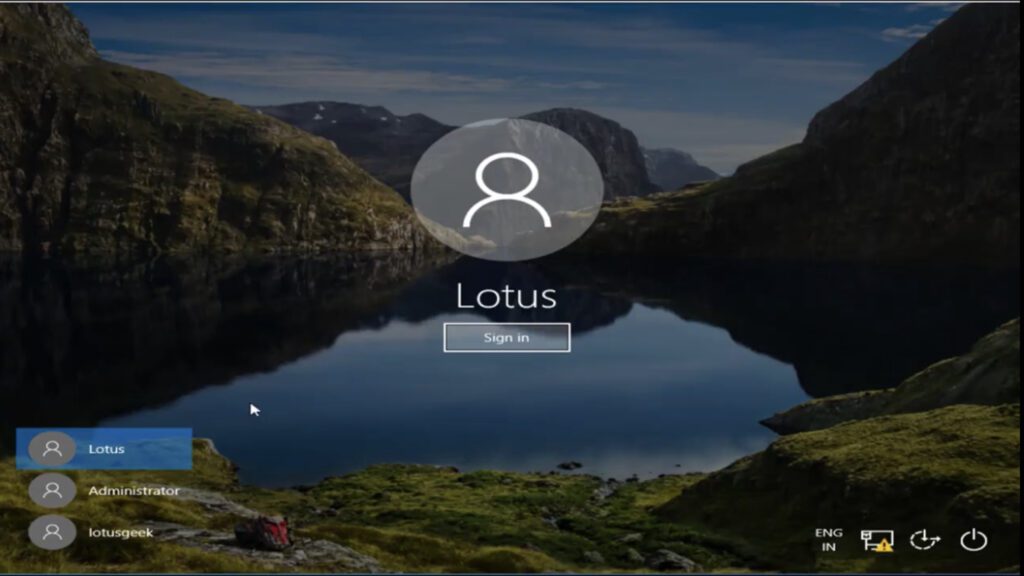
 Once the command is successfully processed, now lock your PC by pressing windows key + L key and then login again as an administrator mode
 Now once you logged into admin mode, your next step is to open This PC by pressing windows key + E key simultaneously and than enable hidden files by clicking on view tab in This PC.
 Now location a file in C drive whose path is
C:\users\administrator\app data\Local
here in this path, find a folder with name Tile Data Layer and delete it (if available)
Note : Make sure you delete Tile data layer folder for every single user in the Users folder
Once deleted now restart your PC and check for the start menu error.
You might be interested: Find All Your Connected WiFi Password in 2 Clicks
#Method 4 – Fix start menu isn’t working By Resetting this PC
If all the above method fails to work than we only left with last option is to reset the system either by keep the files or else deleting the files.
In order to Reset this PC you need to open your settings menu by simultaneously pressing the windows key + I key
Once the settings menu is opened, choose update and security from the options available and than click on Recovery tab in the left
In the options available to your right choose Reset this PC, Get started button to reset your PC to factory reset
 Once you click on Get started button, it will open up two solutions to you
1) keep my files
2) Remove Everything

My suggestion is to choose option second Remove Everything to reset your PC to its initial phase. Make sure you take backup before proceeding as it will wipe out your data completely. However, if your your files are really important and you can’t take backup choose option first which is Keep my files to reset your PC. This process will take sometime and your computer may restart several times which is part of the process. So be patient and let the reset completed successfully.
Once completed kindly check for the start menu resolution.
Final Words: In the above article, we have discussed the one of the best four methods to fix start menu isn’t working error in windows 10. If you are unable to perform any action or your problem is still persists kindly comment with the error and ll you provide more ways for resolution.


