Microsoft Windows 10 operating system is widely used and account for more than 70% of the usage because of its feasibility, availability and its features. The problem is every good thing comes with a clause so does windows 10. Although windows 10 is really an great operating system, but it has some bugs that Microsoft keeps on fixing time to time by providing timely updates for your windows.
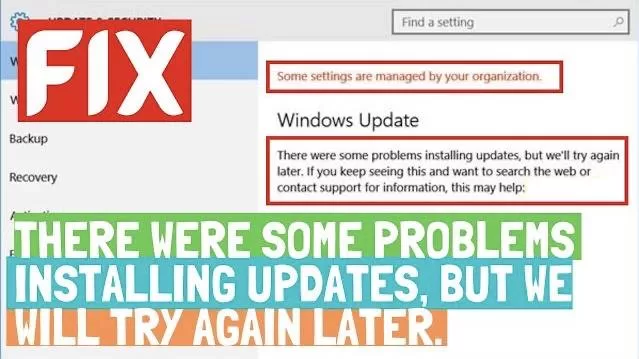
Problem arise when you want to update your windows but couldn’t because of some bugs in your windows. We are here to discuss and providing you the solution for one the bugs that causing error “some settings are managed by your organisation” further it says “there were some problem installing updates but we will try again later”
So here are different solutions and we will discuss them one by one.
Fix There were some problems installing updates, but we’ll try again later
#Method 1 – by using Windows Troubleshooter
In the above said resolution, our first method is to fix this error is by using windows default troubleshooter, as it’s the basic step and solve many problems just be using the default troubleshooting steps. Open your settings menu, by pressings Windows key + I key simultaneously. In settings menu choose update and security

Now once update and security menu opens, from the tabs available on the left hand side, click on troubleshoot tab
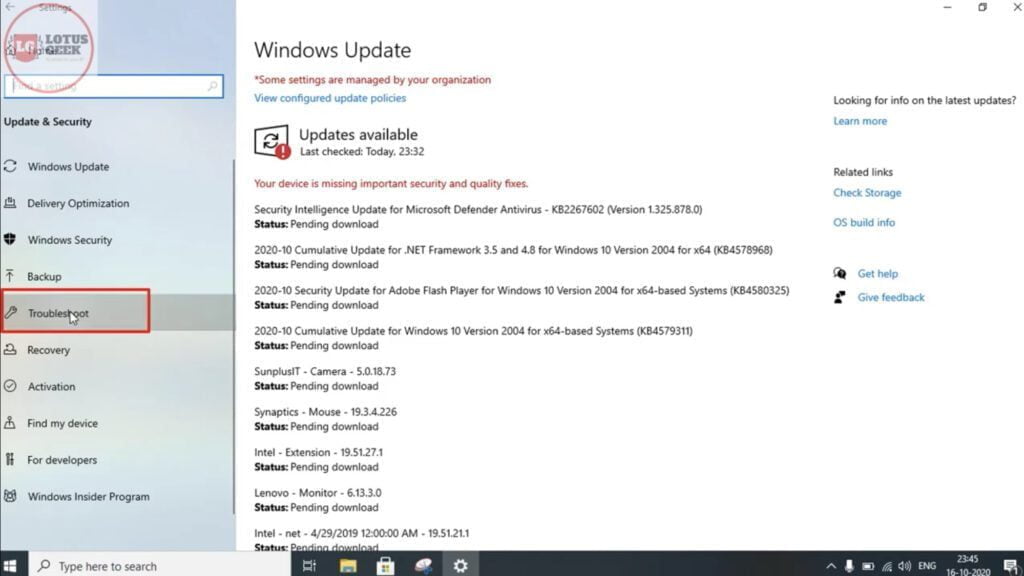
Now in Troubleshoot tab, click on additional troubleshooters to find update troubleshooter. From the menu options, choose Windows update troubleshooter and click on Run the troubleshooter button to run.

Now troubleshooter will guide you through the whole process and will resolve your problem. Once it’s completed restart your PC and again check for updates.
#Method 2 – By Resetting Windows Socket
In order to reset win socket, you need to open the command prompt in your computer. To open command prompt click on start menu and in the search box type cmd, click on the first option available which says “run as administrator”

Now type here following commands one by one and hit the enter key to reset windows socket and resolve the error
netsh winsock reset
netsh winhttp reset proxy

As you can see in the picture above, you must restart your computer to complete the reset. So go ahead and restart your computer for the changes to take effect and than check for updates.
#Method 3 – By resetting windows update component
To reset windows update component again follow the same procedure as discussed in above method to open the command prompt.
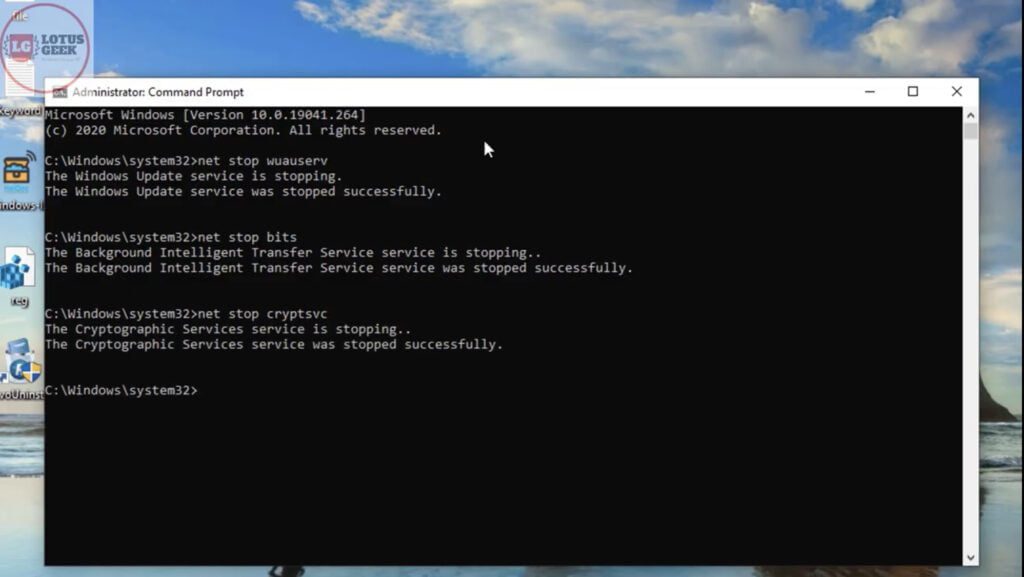
Now type the following command one by one and hit the enter key to stop the all windows update service in your computer :
net stop bits
net stop wuauserv
net stop cryptsvc
Now our next step is to delete the software distribution folder but it’s always good to rename instead of deletion, as we might need those files during windows restore.
So locate software distribution at following location :
C:\Windows\software distribution
If you haven’t find the folder make sure you have enabled hidden files option in your computer.
once found the folder, rename it and give it a name software distribution.old, and now on the same folder create another folder with the name “software distribution”
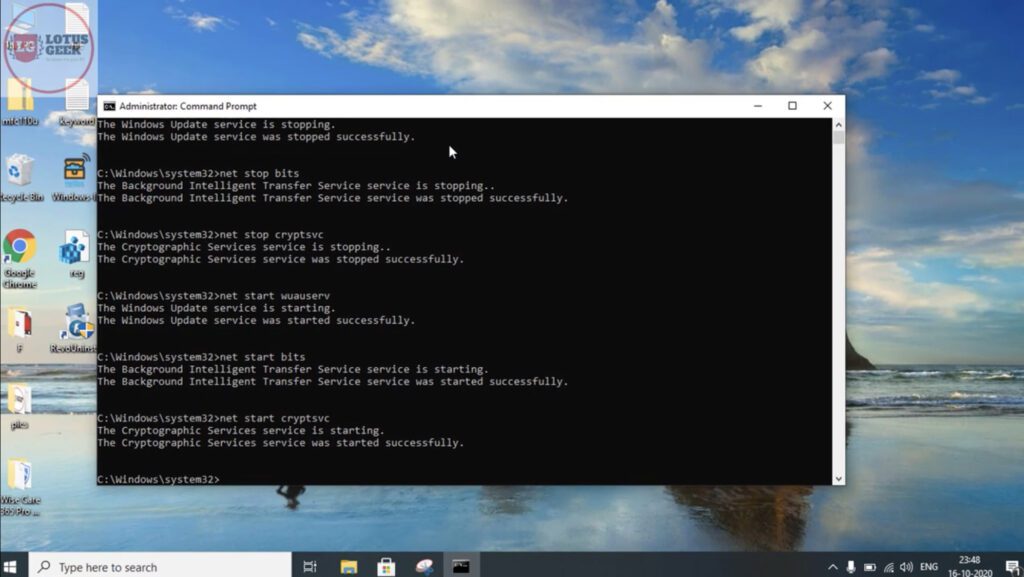
That’s it you have to do. Now go ahead and enable windows update service again by entering following command one by one :
Net start bits
Net start wuauserv
Net start cryptsvc
Now, restart your computer and than check for updates.
#Method 4 – Using DISM
In order to take help of DISM, open the command prompt as an administrator in your computer as shown in above steps and than type the following command and hit the enter key to proceed :
DISM /online /cleanup-image /startcomponentcleanup

once you type in the command hit the enter button to start the command to process. This process will take upto 10minutes depending upon the speed of your computer.
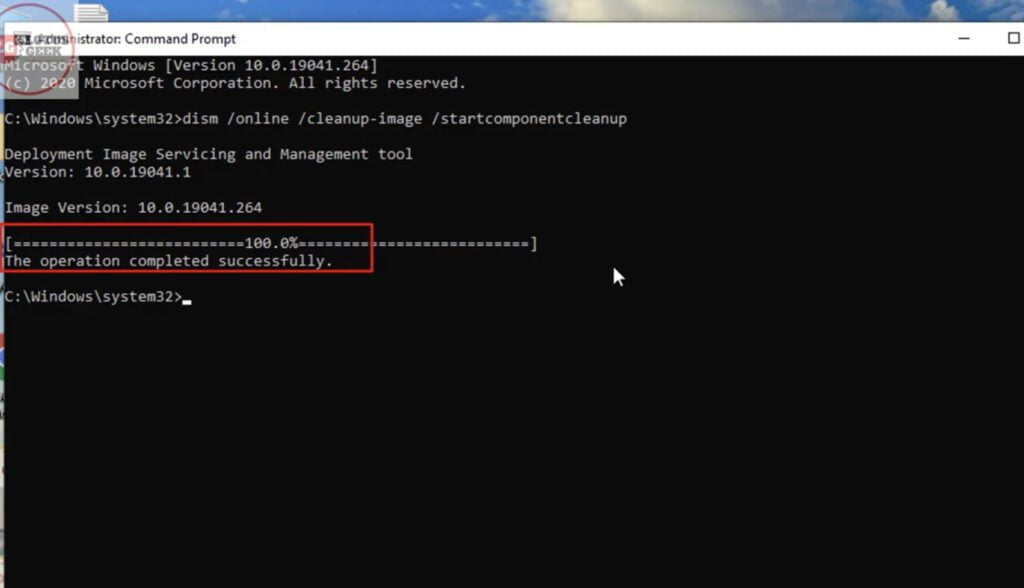
Once the process is completed restart your computer and check your PC for updates.
#Step 5 – using system file checker
To use system file checker you need to proceed as stated above for opening the command prompt as an administrator.
now when command prompt opens, you need to type here the following command and than hit the enter key to proceed.
sfc /scannow
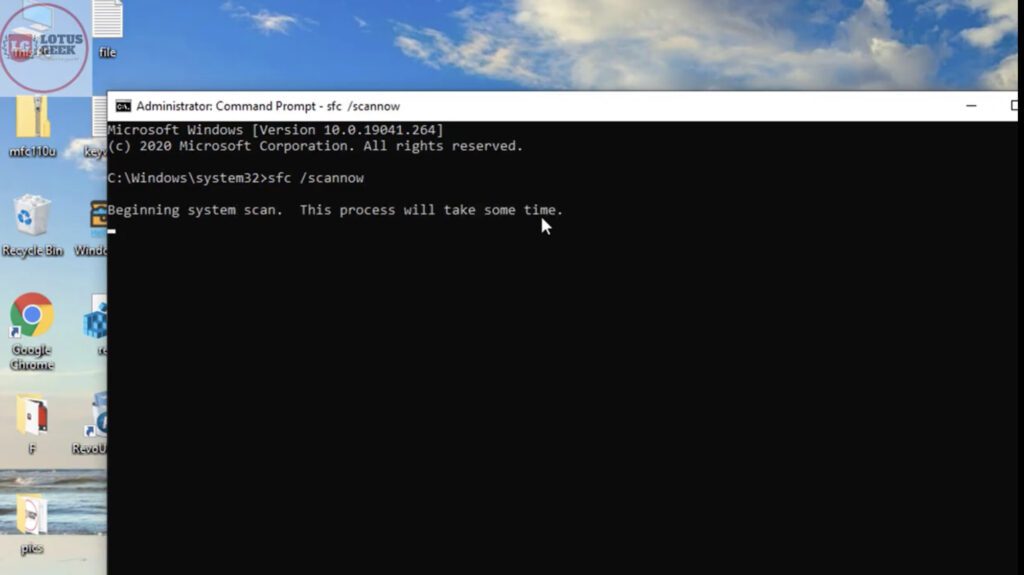
After hitting the enter key you need to wait patiently for upto 20 minutes as this process is time consuming and once the process is completed, if there are any violations found they all will be corrected by the same command automatically.

Now after the process is completed restart your computer and again check for automatic updates.
that’s all folks for this problem. Hope this article helps you out in solving your problem of updating your windows computer. If still problem persists kindly comment below for more resolution.

