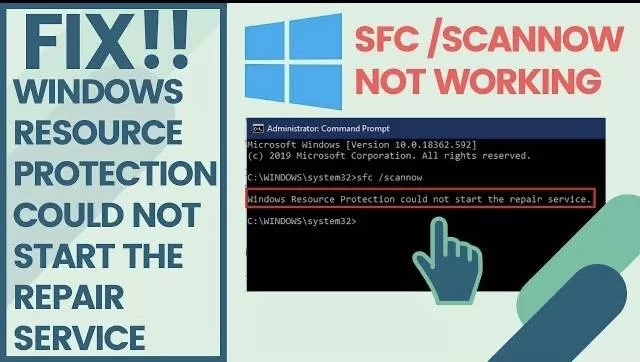
Once in a while we use certain commands to repair our computer due to various error in it like problem with registries or corrupted files. One of command we generally use is Sfc /scannow, but trouble is, when you unable to perform the action and get an error Windows Resource Protection Could not Start the Repair Service. So here in this article we will discuss and solve this error in your windows PC.
#Method 1 – Fix Windows Resource Protection Could Not Start the Repair Service by Using Windows Modules Installer
To proceed simultaneously press windows key + R key to open the run command.
Now type Services.msc and hit the enter button
 Now, once the services menu opens, find a service with the name “Windows Modules Installer” it will be in the alphabetical manner so scroll down and find the service
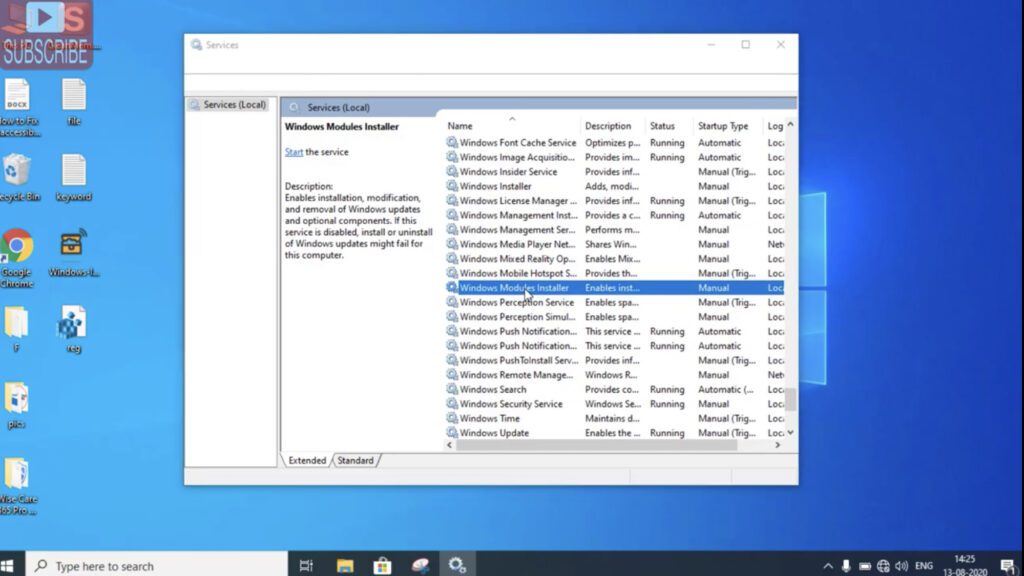
Double click on “Windows Modules Installer” to open the settings menu of the service.
In the settings of “Windows modules Installer” make sure under Start type hood the service should be Manual. If it’s not Manual kindly change it to manual using drop down list.
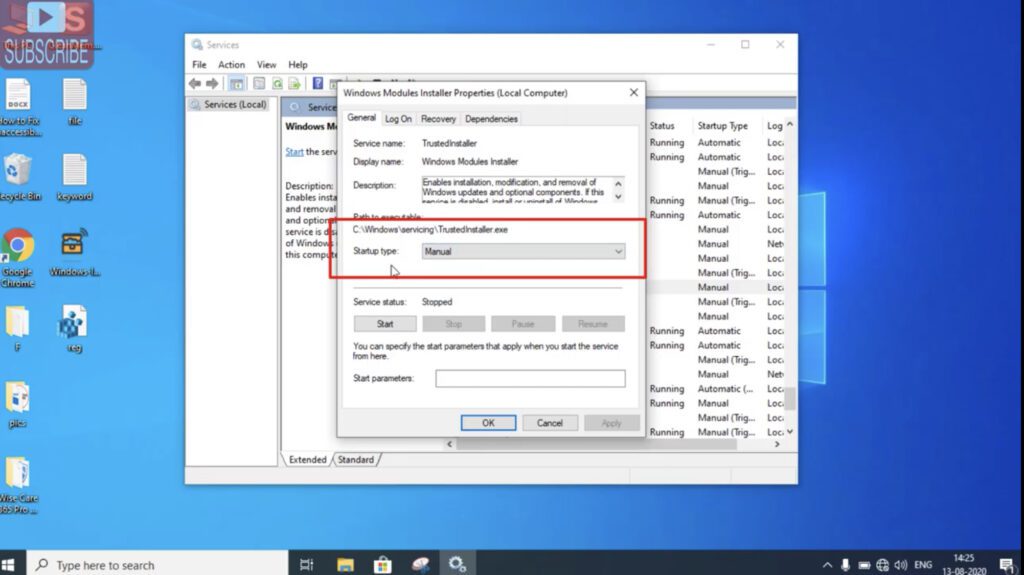
Once completed, hit Apply and Ok button to save the changes. Now restart your computer and start Sfc /scannow again to repair your windows.
#Method 2 – Windows Resource Protection Could Not Start the Repair Service by changing Security Descriptors
To change the Security Descriptors, click on search bar next to start menu and type cmd

From the list of available options, choose command prompt run as administrator to run the command prompt in admin mode.
Now in command you need to enter commands one by one.
Type ICACLS and hit the enter button

Now after hitting the enter key, type here another command and hit enter key to process.
ICACLS C:\WINDOWS\WINSXS
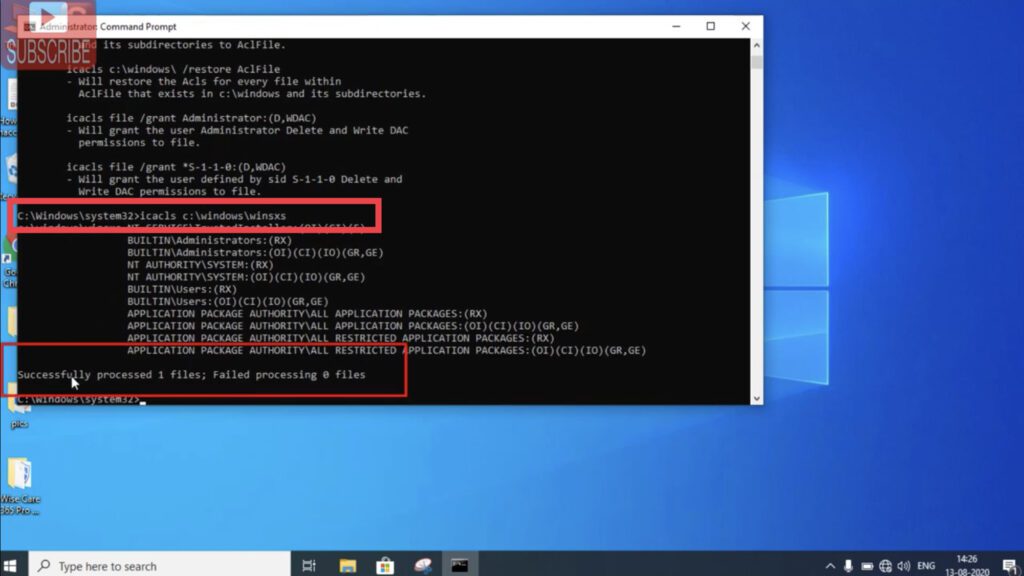
Now exit the command prompt and restart your computer.
Note : If you get an error while performing the command than you need to insert your windows bootable media and need to provide the path of “SXS” folder if your bootable media is in E drive than the command will become “ICACLS E:\Sources\sxs” without the commas
#Method 3 – Using Command Prompt
Now as discussed above, open the command prompt as an administrator mode.
In command prompt type following one by one and hit the enter button after entering each command :
sc config trustedinstaller start=demand
net start trustedinstaller
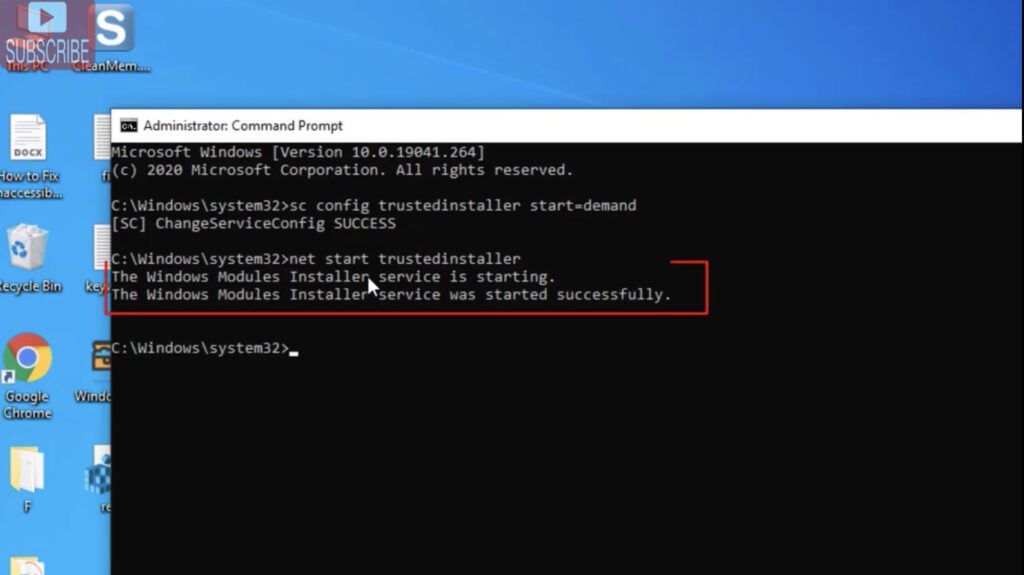
Now go ahead and restart your computer and start windows resource protection Sfc /scannow again.
This time it will work perfectly. Still find any issues while performing the command and getting any error kindly comment below with the error code for brief resolution.

